Install Assist for Teams
Looking to set up Jira Service Management chat? Visit support.atlassian.com to find guides and more.
Halp is a lightweight ticketing system that allows for easy ticket creation and management from within Microsoft Teams. The Assist app is what users interact with within Teams, bringing ticketing into your conversations.
Prerequisites:
- In order to install the Assist app for Teams, you need to be a Microsoft Azure Admin.
- You need to confirm that 3rd party apps are allowed or specifically grant access to Assist.
Note: We recommend installing Assist into a private team initially to get up and running with Halp properly. Once installed and set-up, you may install Assist on other teams or for other users.
Installing Assist for Teams
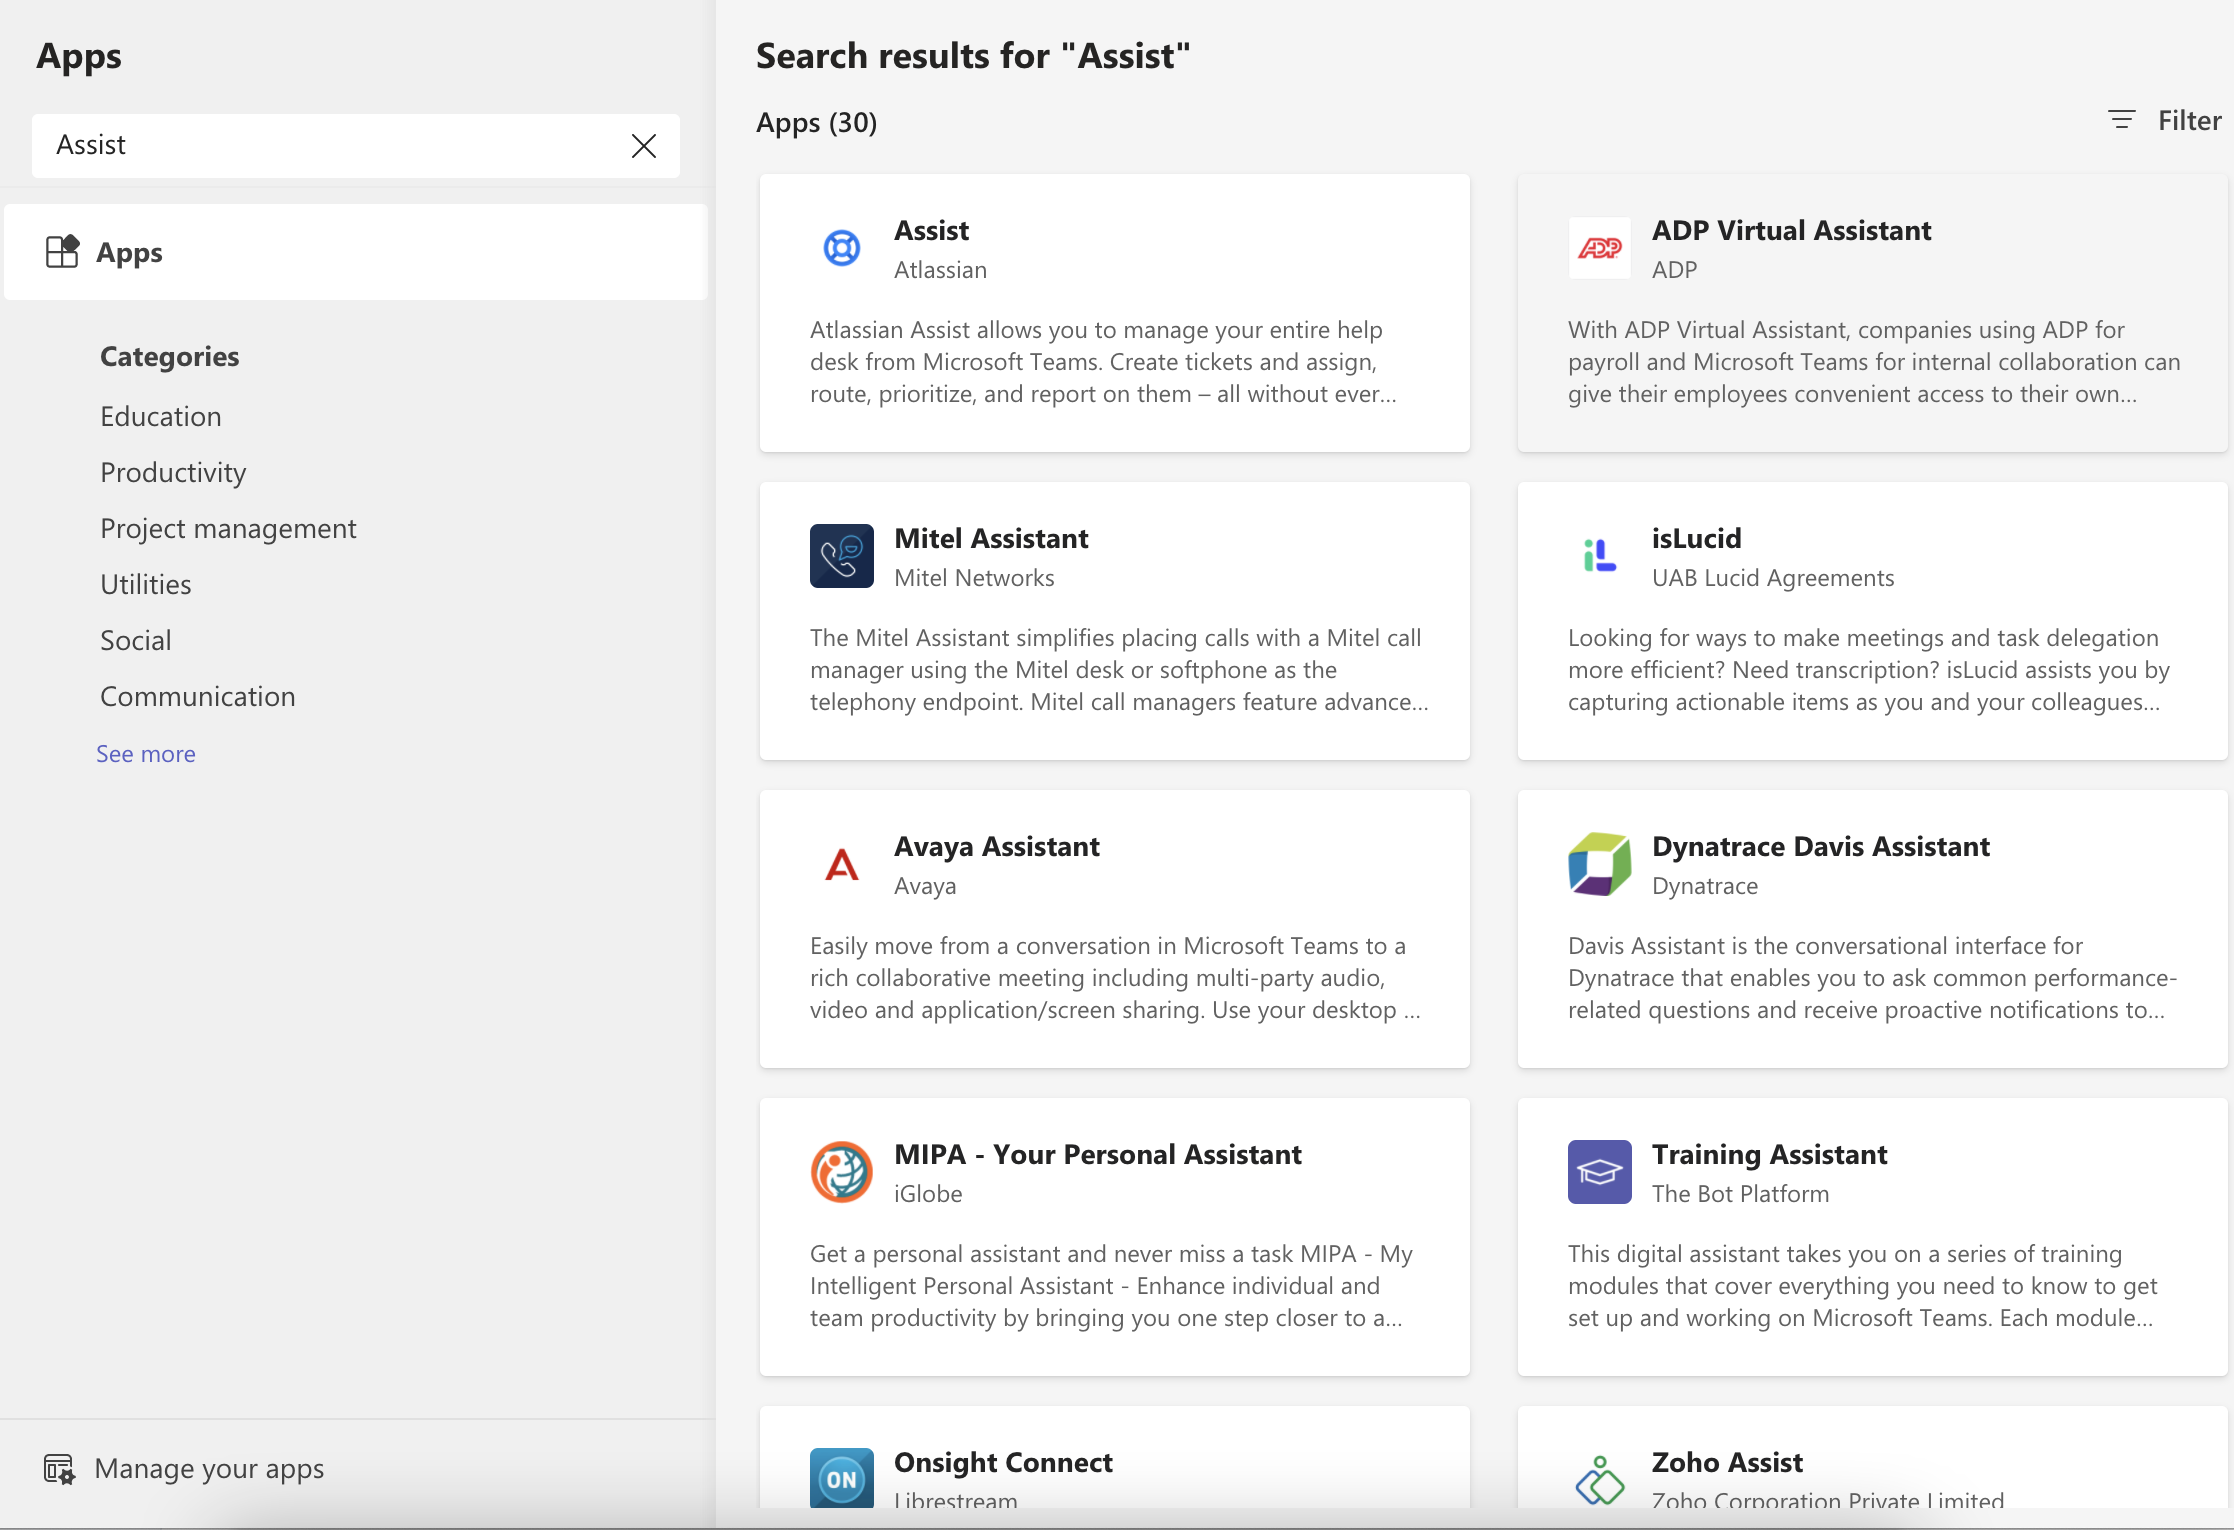
- From the Teams App Store, search for Assist and select it
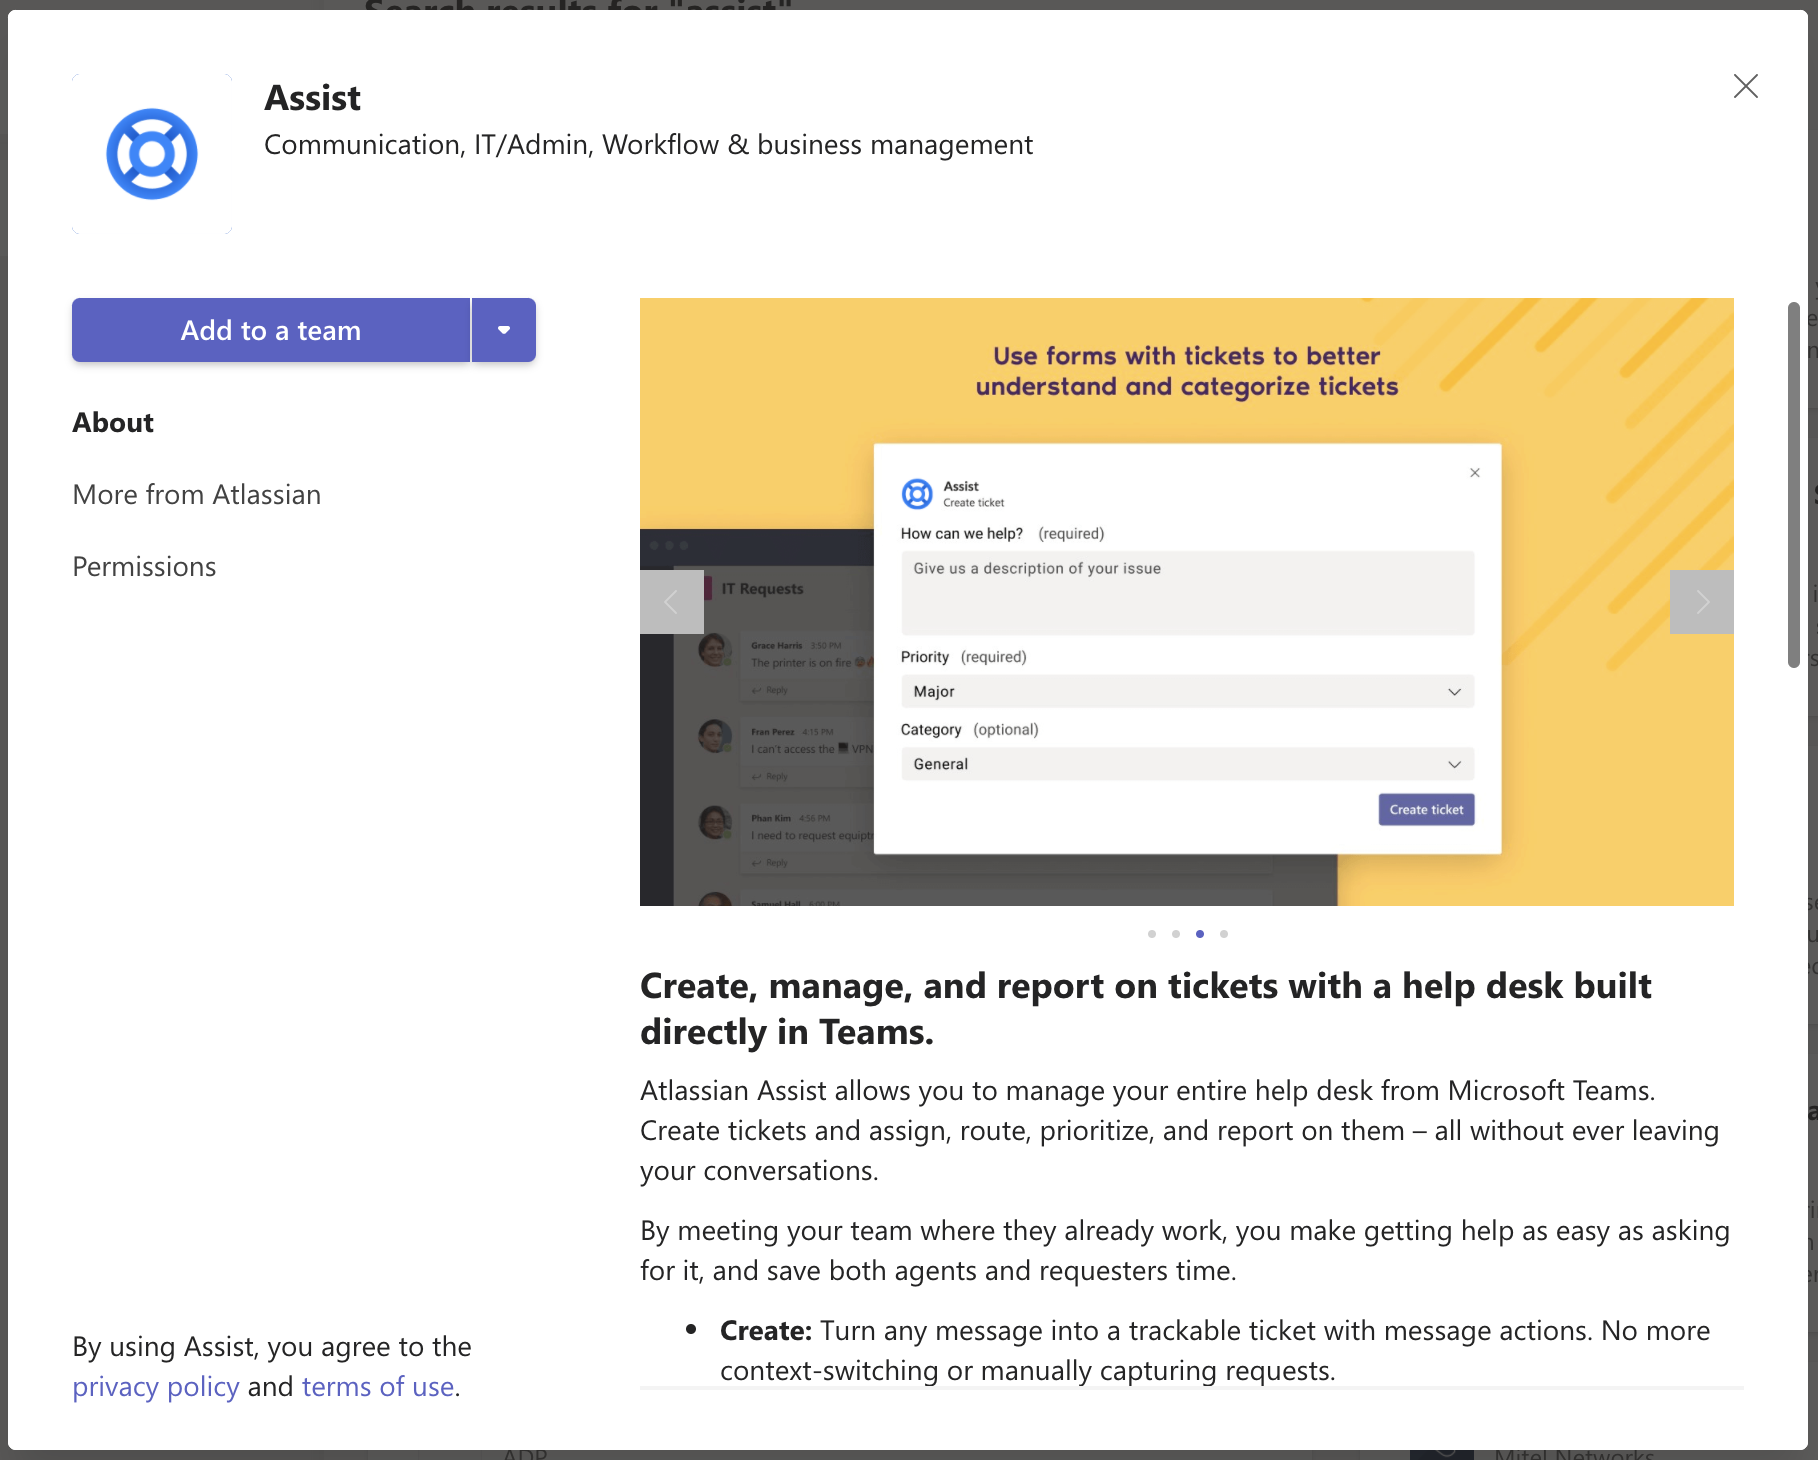
- Click Add to team
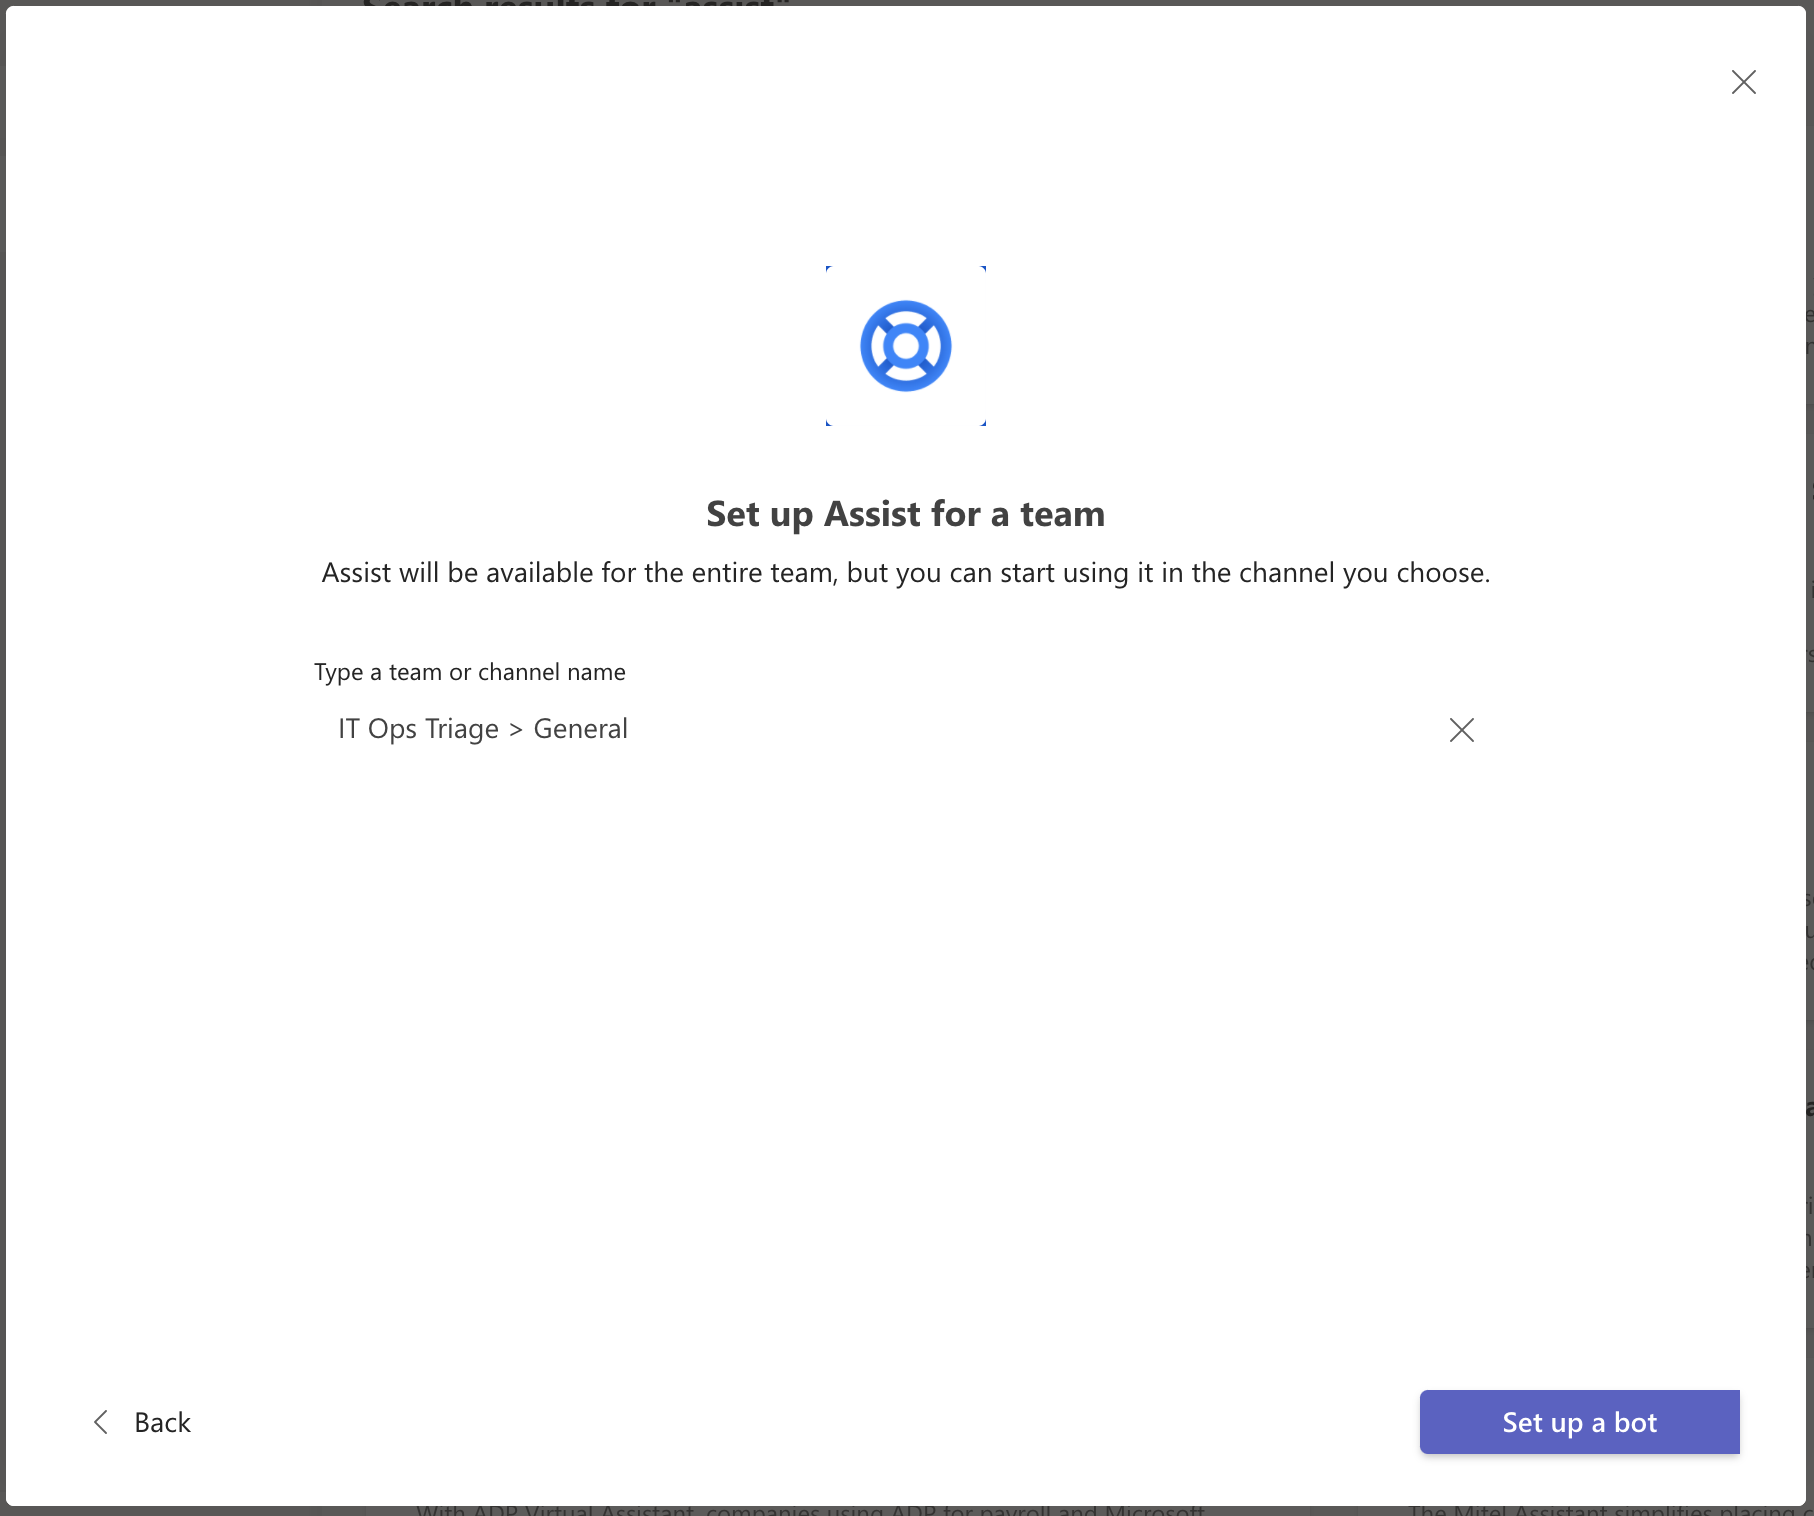
- Search for and select the private team you want to add Assist into. Then click Set up a bot
- Once installed, you should receive a Chat notification from Assist. It will guide you through an onboarding tour to get you started!
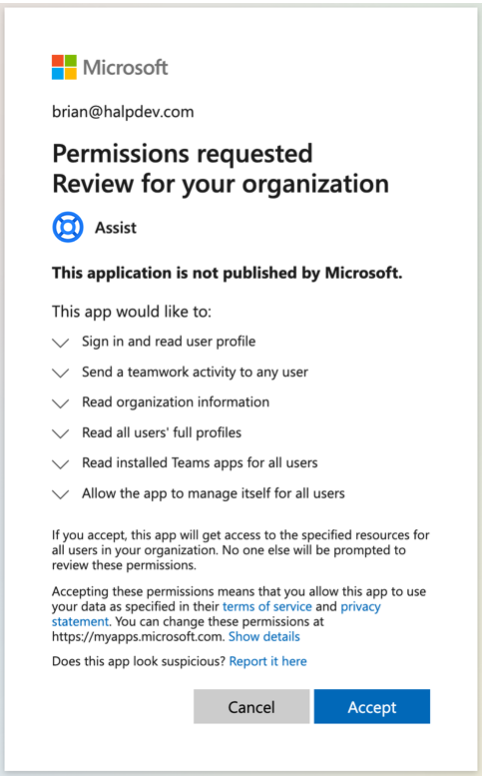
- Note: Assist requires a Teams Admin to grant permissions for certain functionalities. During the onboarding tour, you may be prompted to grant permissions. If you unable to do so, please contact your Teams Admin for for assistance.
Errors
Note: If neither welcome messages are sent to Teams channels, nor instructional messages are sent to an Admin's direct message after installing Assist, your organization might need to enable Assist. Even though Assist may have been granted consent by an organization's administrator, that Microsoft Teams Organization may still have blocked the bot.
- If this is the case, go to https://admin.teams.microsoft.com/policies/manage-apps (You'll need administrator privileges).
- Find Assist and toggle the Status to “allowed”.
For more information on Teams App Settings, view these two pages: